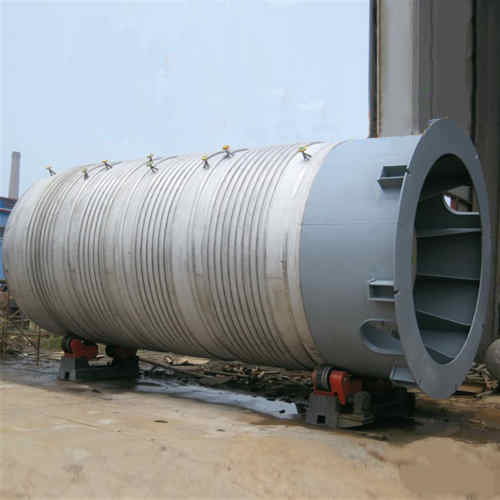
Commonly-used non-destructive testing methods for pressure vessels
Radiographic inspection
At present, according to the definition of the American Society for Testing Materials, radiographic inspections can be divided into four types: radiographic testing, real-time imaging detection, chromatographic detection and other radiographic detection techniques. Radiography is the most widely used detection method for pressure vessels.
Radiography refers to penetrating a test piece by X-ray or γ-ray. In the test piece, the difference in strength is caused by the influence of the defect on the absorption of the ray. The defect is detected by measuring the difference, and the film is used as a tool for recording information. Radiographic equipment can be divided into X-ray inspection machine, high-energy radiation detection devices, and gamma-ray inspection machine.
Characteristics of radiographic inspection
1. An intuitive image of the defect can be obtained, and the position is accurate.
2. The test results can be recorded directly and stored for a long time.
3. The detection rate of volumetric type defects (such as pores, slag inclusions, etc.) is very high, and it is easy to miss the inspection of area-type defects (such as cracks, unfused area, etc.) if the photographic angle is not appropriate.
4. It is suitable to inspect butt welds, but not suitable for fillet weld inspection such as inspecting plates, bars, forgings, etc.
Ultrasonic testing
Ultrasonic testing is mainly used to detect internal buried defects in butt welds and internal cracks in pressure vessel welds. It is also used for the detection of cracks in pressure vessel forgings and high-pressure bolts. Ultrasonic testing can be divided into ultrasonic thickness measurement, ultrasonic grain size measurement, stress measurement, etc. Its methods include pulse reflection method (the most commonly used) based on the echoes of the defect and the bottom surface, penetration method that the defect is judged according to its shadow, resonance method in which a standing wave is generated from a test object to judge defects or plate thickness.
Characteristics of ultrasonic testing
1. The area type defect detection rate is high, while the volumetric type defect detection rate is low.
2. It is suitable to inspect workpieces with high thickness.
3. It is applicable to all kinds of test pieces, including butt welds, fillet welds, T-shaped welds, plates, pipes, bars, forgings, composite materials, etc.
4. Low inspection cost and fast speed, the detection instrument is small in size and light in weight, and it is convenient to use on site.
5. It is impossible to obtain a visual image of the defect, the positioning is difficult, and the quantitative accuracy is not high.
6. There is no direct record of the test results.
Magnetic particle testing
Magnetic particle testing is a non-destructive detection method that displays the surface and near-surface defects of ferromagnetic materials based on the interaction between the magnetic leakage field at the defect and the magnetic powder. The principle is that the ferromagnetic material generates a strong magnetic induction intensity inside after the magnetization, and the magnetic flux density increases by several hundred, or thousand times. If there is discontinuity in the material (mainly caused by the defect, structure, shape or material quality), the magnetic field lines will be distorted, and some magnetic lines of force may overflow the surface of the material, passing through the space to form a magnetic leakage field, and the local magnetic pole of the leakage magnetic field can attract the ferromagnetic substance.
Characteristics of magnetic particle testing
1. It is suitable for detecting ferromagnetic materials, but not for non-ferromagnetic materials.
2. Surface and near-surface defects can be detected but it cannot be used to check internal defects.
3. The detection sensitivity is high, and extremely fine cracks and other defects can be found.
4. The detection cost is low and the speed is fast.
5. The shape and size of the workpiece sometimes affect the detection, so it is difficult to magnetize and be detected.


 English
 Español
 русский